Choosing the right type of pumpkin is an essential aspect of preparing for Halloween. The type of pumpkin you select will greatly impact the overall look and feel of your Halloween decorations. From traditional orange pumpkins to specialty varieties, there are numerous options to consider. Here are some factors to keep in mind when selecting a Halloween pumpkin and tips for carving and decorating it.
When it comes to choosing the pumpkin itself, you have several options to explore. Traditional orange pumpkins are a classic choice, known for their vibrant color and round shape. Specialty pumpkins, such as the Cinderella or Fairytale pumpkins, offer unique shapes and colors, adding a touch of elegance to your Halloween display. White pumpkins can bring a sense of sophistication and contrast to your decorations, while miniature pumpkins are perfect for creating cute and compact arrangements. For those looking for a quirky and unconventional vibe, funky-shaped pumpkins like the knucklehead or warted varieties can be a fun choice.
In addition to the type of pumpkin, there are several factors to consider. The size of the pumpkin is crucial, depending on the space you have available and the design you wish to carve or create. The pumpkin’s color should align with the overall theme or color palette of your Halloween decorations. Don’t forget to consider the shape of the pumpkin, as it can add visual interest and personality to your display. Don’t overlook the texture of the pumpkin, as some varieties have smoother skin, while others have more bumps or ridges.
Once you’ve chosen the perfect pumpkin, it’s time to carve and decorate it. To ensure the best results, you’ll need the right tools for the job. From pumpkin carving kits to specialty knives and scoops, having the proper equipment will make the process easier and safer. Before carving, it’s essential to properly prepare the pumpkin by cleaning its exterior and removing the top or bottom to create an opening for scooping out the seeds and pulp. Exploring different carving techniques, such as traditional jack-o’-lantern faces or intricate designs, can create stunning effects. Adding personal touches, such as accessories or paint, can further enhance the uniqueness of your carved pumpkin.
To preserve and display your Halloween pumpkins, it’s crucial to take steps to prevent decay and rot. Applying Vaseline or vegetable oil to the carved areas can help maintain moisture and prolong the pumpkin’s lifespan. Choosing the right lighting options, such as votive candles or LED lights, can create a spooky glow and ensure safety. When it comes to placement, consider factors like weather protection and accessibility for visitors to enjoy your pumpkins safely.
By considering these factors and following tips for selecting, carving, and preserving Halloween pumpkins, you can create a visually striking and festive display that adds charm and excitement to your Halloween celebrations.
Key takeaway:
- Choosing the right type of pumpkin for Halloween is essential for a successful and unique decoration.
- Traditional orange pumpkins are classic and widely available, providing a timeless Halloween aesthetic.
- Specialty pumpkins offer a range of colors, shapes, and sizes, allowing for more creative and personalized decorations.


Choosing the Right Type of Pumpkin
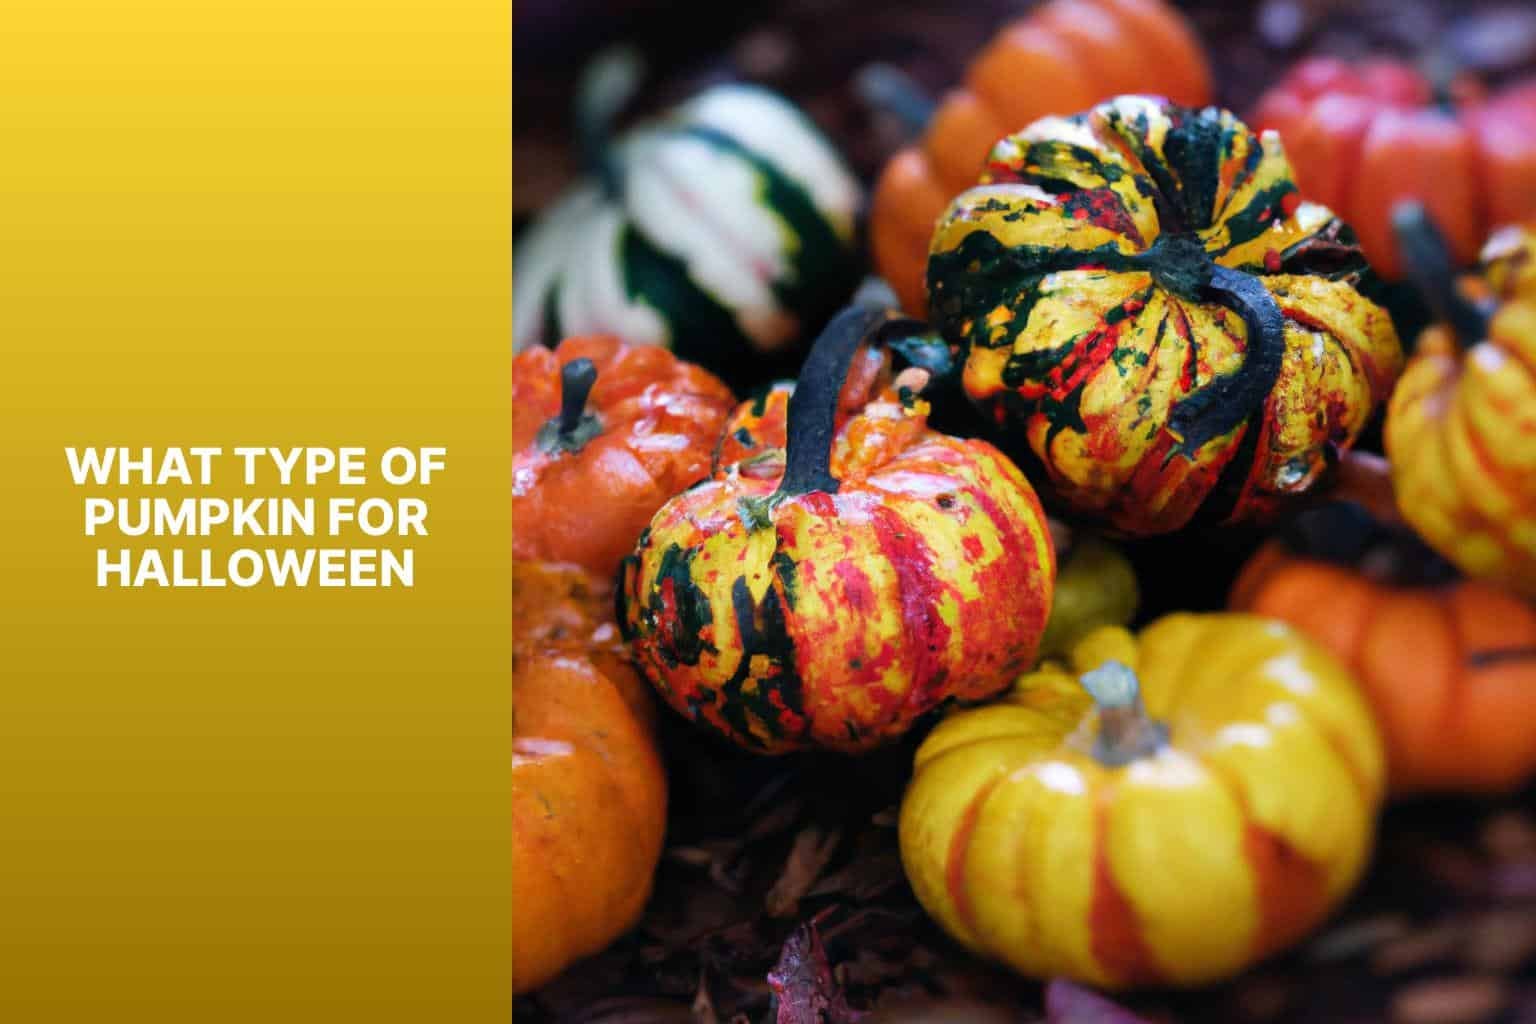
When it comes to selecting the perfect pumpkin for Halloween, there are plenty of options to consider. From the traditional orange pumpkins to the unique and funky-shaped varieties, each type offers its own distinctive charm. In this section, we’ll explore the different types of pumpkins available and the qualities that make them stand out. Get ready to dive into a pumpkin patch full of choices as we uncover the various options, from specialty pumpkins to miniature ones and even white pumpkins. Let’s find the ideal pumpkin that will make your Halloween truly spectacular!
Traditional Orange Pumpkins
Traditional orange pumpkins are the perfect choice for Halloween decorations. When selecting traditional orange pumpkins, there are a few key factors to consider. First, think about the size that will best suit your carving or decorating needs. Traditional orange pumpkins come in a variety of sizes, from small to large.
The vibrant orange color of these pumpkins is ideal for creating that classic Halloween look. Their round or slightly oblong shape also makes them easy to carve and decorate. Look for pumpkins with smooth, firm skin that are free from bruises or soft spots to ensure that they last longer and are easier to work with.
To maximize the potential of your traditional orange pumpkins, try some of these suggestions. For intricate or spooky designs, traditional orange pumpkins are great for carving because their color contrasts nicely against candlelight. You can also use traditional orange pumpkins as the centerpiece of your Halloween decorations, whether displayed alone or as part of a larger arrangement.
If you want to extend the lifespan of your traditional orange pumpkins, try applying a thin layer of petroleum jelly to the cut surfaces. This will help keep them hydrated and prevent premature decay. Traditional orange pumpkins offer endless possibilities for Halloween creativity and can truly enhance your festive decor.
Specialty Pumpkins
| Type | Description |
| Heirloom Pumpkins | Unique and rare pumpkins passed down through generations, often with distinct colors and shapes, great for decorations. |
| Striped Pumpkins | Pumpkins with vibrant stripes in various colors like orange and green or orange and white, adding a playful touch to Halloween decorations. |
| Giant Pumpkins | Exceptionally large pumpkins, often weighing over 100 pounds, perfect for carving jack-o’-lanterns or creating eye-catching centerpieces. |
| Miniature Pumpkins | Tiny pumpkins, typically the size of a baseball or smaller, used for table decorations, crafts, or party favors. |
| Warty Pumpkins | Pumpkins with unique bumps or growths on their skin, giving them an eerie appearance, ideal for adding a spooky twist to Halloween decor. |
When it comes to specialty pumpkins, you have several options. Heirloom pumpkins are unique varieties passed down through generations, often with distinct colors and shapes. Striped pumpkins feature vibrant stripes in various colors like orange and green or orange and white, adding a playful touch to Halloween decorations. Giant pumpkins are exceptionally large, perfect for carving jack-o’-lanterns or creating eye-catching centerpieces. Miniature pumpkins, typically the size of a baseball or smaller, are cute and versatile, suitable for table decorations, crafts, or party favors. Lastly, warty pumpkins have unique bumps or growths on their skin, giving them an eerie appearance, perfect for adding a spooky twist to Halloween decor. Whether you prefer something traditional or more unique, specialty pumpkins offer a wide range of options to suit your Halloween needs.
White Pumpkins
A Unique Halloween Option
When it comes to Halloween pumpkins, consider the option of white pumpkins. With their pale, ivory color, white pumpkins offer a sleek and modern appearance that stands out among the traditional orange pumpkins. They come in various sizes, so you can choose one that fits well in the space where you plan to display it. White pumpkins provide a versatile canvas for creativity, allowing you to easily carve intricate designs or paint them with different colors for a unique effect. Combining white pumpkins with other colored pumpkins or Halloween decorations creates a beautiful contrast that enhances the overall visual appeal.
Not only are white pumpkins aesthetically pleasing, but they also have an extended lifespan. With thicker walls and denser flesh, white pumpkins resist decay and stay fresh longer. Whether you carve, paint, or simply display them as they are, white pumpkins can add an elegant touch to your Halloween celebrations. Incorporate white pumpkins into your decorations for a unique and eye-catching look.
Miniature Pumpkins
Miniature pumpkins are small pumpkins perfect for Halloween decorations. These tiny pumpkins, measuring about 3 to 4 inches in diameter, are great for tabletop displays and adding variety to pumpkin arrangements. They come in various colors, including orange, white, and striped or speckled varieties. Miniature pumpkins are easy to handle and carve, making them popular for kids or intricate designs. They are also ideal for DIY projects like pumpkin painting or making pumpkin crafts.
Last year, my friend Emily adorned her front porch with miniature pumpkins for Halloween. She carefully selected different colors and shapes to create a charming display. The small size of these pumpkins allowed her to arrange them in a visually pleasing way without taking up too much space. Her neighbors were highly impressed by the creative use of these tiny pumpkins, and many children in the neighborhood absolutely loved it. The display became a local attraction, with families stopping by to take pictures and admire the whimsical arrangement. The miniature pumpkins truly added excitement and a touch of magic to the Halloween season, making Emily’s house the talk of the town. She even received compliments from strangers passing by. Miniature pumpkins truly have the power to make a big impact in Halloween decorations.
Funky-Shaped Pumpkins
Here is the edited text:
Funky-Shaped Pumpkins
When choosing a pumpkin for Halloween, funky-shaped pumpkins can add a unique touch to your decorations. These pumpkins come in interesting shapes and sizes, allowing you to get creative with your designs.
Funky-Shaped Pumpkin Varieties:
These pumpkins add a fun element to your Halloween decor. They can be used alone or in larger displays with other pumpkin varieties. Their unique shapes make them the focal point of your display, capturing attention.
When selecting funky-shaped pumpkins, consider the size and shape that will best suit your design. Look for pumpkins with distinct bumps, warts, or unusual contours to enhance the overall effect. Whimsical Goblin Pumpkins or out-of-this-world Alien Pumpkins are great choices. Funky-shaped pumpkins add personality to your Halloween celebrations.
Factors to Consider when Selecting a Halloween Pumpkin
When it comes to choosing the perfect pumpkin for Halloween, there are a few key factors to keep in mind. We’ll take a closer look at the size, color, shape, and texture of pumpkins in this section. These factors play a crucial role in creating a show-stopping decoration or a carving masterpiece. So, let’s dive in and discover what makes each aspect of a pumpkin so important when it comes to Halloween festivities!
Size of the Pumpkin
The size of the pumpkin is of utmost importance when choosing a Halloween pumpkin. One must carefully consider the dimensions of the space where the pumpkin will be displayed as well as the specific design that one has in mind. If one intends to create intricate carving details, a smaller pumpkin would be more suitable. On the other hand, a larger or even a giant pumpkin would allow for more creativity and could serve as the centerpiece of one’s Halloween decoration. It is also worth noting that the size of the pumpkin may affect the quantity of seeds and pulp found inside, which could be utilized for cooking or other festive Halloween treats.
In an inspiring true tale, a young girl by the name of Emily embarked on her first pumpkin carving adventure. Mindful of her abilities, she deliberately selected a small pumpkin that she knew she could easily manage. With great care and utilizing a small, intricate carving tool, she transformed the small pumpkin into a masterpiece depicting a beautiful cat. The end result was an impeccably carved pumpkin that left her friends and family in awe. Filled with pride, this triumphant moment spurred Emily to continue the tradition of carving pumpkins year after year.
Pumpkin Color
When selecting a Halloween pumpkin, the color is an important factor to consider in order to create a visually appealing decoration. Take into account the following aspects when choosing the appropriate pumpkin color:
1. Vibrant Orange: Traditional orange pumpkins are the preferred choice due to their popularity. Their bright color adds a timeless touch to any Halloween display.
2. Muted Tones: For a more subdued and rustic appearance, opt for pumpkins with pale orange, yellowish, or greenish hues.
3. White: White pumpkins offer a modern and elegant option. They can be painted or carved in different designs.
4. Multicolored: Pumpkins with multiple colors bring a playful and whimsical touch with natural variations in their skin.
5. Unusual Colors: Make a bold statement and stand out with unconventional colors such as blue, gray, or black.
Considering the color of the pumpkin is essential to complement your Halloween theme and style. Choose a color that reflects your creativity and adds visual interest to your display.
Pumpkin Shape
The shape of a pumpkin is crucial for the overall appearance of a carved design. Different pumpkin shapes offer opportunities for creativity and bring your spooky creation to life.
Remember, the pumpkin shape will significantly impact the final result of your Halloween creation. Consider your desired theme or design and choose a shape that suits it best. Whether you prefer tall and narrow for spooky creatures, round and bulky for classic designs, or warty and bumpy for a unique twist, there’s a pumpkin shape out there to bring your Halloween imagination to life.
Pumpkin Texture
The texture of a pumpkin is important when selecting one for Halloween. It refers to the feel and consistency of the flesh, which can vary depending on the variety.
| Pumpkin | Texture |
| Traditional Orange Pumpkins | Smooth and firm texture, easy to carve |
| Specialty Pumpkins | Varies depending on the type, usually similar to traditional orange pumpkins |
| White Pumpkins | Smooth and slightly softer texture, great for painting or etching designs |
| Miniature Pumpkins | Smooth and firm texture, ideal for small and intricate designs |
| Funky-Shaped Pumpkins | Texture can vary depending on the shape, usually similar to traditional orange pumpkins |
When choosing a pumpkin texture, consider your intended use. For elaborate designs, select a pumpkin with a smooth and firm texture, such as traditional orange or miniature pumpkins. For painting or etching, white pumpkins with a slightly softer texture are a good choice. Specialty and funky-shaped pumpkins offer unique textures to enhance your Halloween display.
Check the pumpkins for soft spots or signs of decay, as this can affect texture and overall quality. With the right pumpkin texture, you’ll be on your way to creating a spooktacular Halloween masterpiece.
Tips for Carving and Decorating Halloween Pumpkins

Photo Credits: Rickyshalloween.Com by Raymond Brown
Are you ready to take your Halloween pumpkin carving skills to the next level? Look no further! In this section, we’re diving into some expert tips for carving and decorating Halloween pumpkins. From choosing the right tools to mastering carving techniques, and adding personal touches to make your pumpkin stand out. Get ready to unleash your creativity and make this Halloween truly spook-tacular!
Choosing the Right Tools
When it comes to carving and decorating Halloween pumpkins, choosing the right tools is crucial. Here are some tools to consider:
- Sharp knife: Use a sharp, serrated knife designed for pumpkin carving to cut through the tough outer skin.
- Pumpkin scoop: Use a pumpkin scoop or spoon to remove the pulp and seeds from the pumpkin. The curved shape helps clean the walls.
- Pumpkin carving saws: These small serrated saws allow for precise cutting and detailing in intricate designs.
- Etching tool: An etching tool or linoleum cutter is great for creating detailed patterns on the pumpkin with its fine point.
- Stencils: Using stencils helps achieve intricate designs. Choose stencils that fit your desired design and secure them onto the pumpkin.
- Drill: Use a small drill to create holes or patterns in the pumpkin, adding texture or depth to your design.
Remember to handle the tools carefully to prevent injuries. Choosing the right tools ensures a safe and enjoyable Halloween pumpkin carving and decorating experience.
Preparing the Pumpkin
When preparing a pumpkin for Halloween, it is important to follow a few essential steps. First, start by cleaning the pumpkin thoroughly. Use mild soap and water to remove any dirt and grime. To ensure a clean surface, you can also use a scrub brush. Once it is clean, rinse the pumpkin and dry it with a towel.
After the cleaning process, the next step is to cut off the top of the pumpkin. Take a sharp knife and carefully create a lid by cutting off the top at a slight angle. Be cautious while doing this step to avoid any accidents or injuries.
Now, it’s time to scoop out the pulp and seeds from inside the pumpkin. To do this, you can use a large spoon or an ice cream scoop. Make sure to remove all the pulp and seeds, and don’t forget to scrape the sides to create a smooth surface for carving.
If you want, you can save the seeds for roasting later. Separate them from the pulp and set them aside. Rinse the seeds in a colander and pat them dry before roasting.
In case you prefer thinner pumpkin walls, you can thin them out by carefully scraping away some flesh using a spoon or a carving tool. This will make carving easier and allow more light to shine through.
Once you have completed the preparations, it’s time to draw your desired design on the pumpkin’s surface. You can use a marker or a pencil to create a guide for carving.
It’s the most exciting part – carving the pumpkin! Follow your design and use either a serrated knife or pumpkin carving tools to carve out the shapes. Start with the innermost details and work your way outward. Remember to be cautious when handling sharp tools to avoid accidents.
After carving, take a small knife or carving tool to clean up any rough edges or mistakes. Make necessary adjustments to ensure your pumpkin looks perfect.
By following these steps, you can effectively prepare a pumpkin for carving and create a spooky or creative Halloween decoration. Always remember to handle sharp tools with care and supervise children when carving pumpkins. Enjoy the process and have fun bringing your pumpkin to life!
Carving Techniques
1. Utilize a sharp carving knife or a pumpkin carving kit to achieve clean and precise cuts, using the provided carving techniques.
2. Remove the top of the pumpkin to create a lid, following the suggested carving techniques.
3. Scoop out the pulp and seeds from the pumpkin using a large spoon or scraper tool, ensuring the pumpkin walls are clean and smooth.
4. Utilize a stencil or marker to draw a design on the pumpkin’s surface as a guide for the carving process, incorporating the suggested carving techniques.
5. Begin by carving the larger sections of the design with a gentle back and forth sawing motion, as recommended in the carving techniques.
6. Carve the smaller details using a smaller knife or pumpkin carving tool with a fine edge, following the suggested carving techniques.
7. Gently push the carved sections from the inside of the pumpkin to create openings for light to shine through, as per the provided carving techniques.
8. Trim or smooth any rough edges or imperfections with the knife, in accordance with the suggested carving techniques.
9. Place a tea light or LED light inside the carved pumpkin to illuminate the design, implementing the carving techniques.
10. Display the carved pumpkin in a safe and visible location, ensuring it remains stable, as stated in the carving techniques.
Remember to exercise caution, follow safety guidelines, keep sharp tools away from children, and work in a well-lit area while using these carving techniques to create your unique Halloween pumpkin masterpiece.
Adding Personal Touches
Adding personal touches to your Halloween pumpkin can make it stand out and reflect your creativity and style. Here are some ideas to consider:
1. Carve intricate designs: Use a small, sharp knife or pumpkin carving tools to create detailed patterns or pictures on the pumpkin’s surface.
2. Add accessories: Enhance your pumpkin by attaching props such as googly eyes, fake spiders, or miniature pumpkins.
3. Paint or decorate with markers: Instead of carving, paint or draw on the pumpkin using acrylic paints or markers. This allows for more intricate designs and a greater variety of colors.
4. Apply glitter or sequins: Give your pumpkin extra sparkle by using glue or adhesive spray to attach glitter or sequins securely.
5. Cut out different shapes: Apart from traditional faces, try cutting out stars, hearts, or other shapes to create a unique pattern on your pumpkin.
6. Add lights or candles: Place a battery-operated LED light or small candle inside the pumpkin to create an eerie glow. Experiment with colored lights for added effect.
Remember to enjoy adding personal touches to your Halloween pumpkin and let your imagination guide you in creating a truly memorable decoration.
Preserving and Displaying Halloween Pumpkins

Photo Credits: Rickyshalloween.Com by Justin Jackson
Preserving and displaying Halloween pumpkins is an essential part of the festive season. In this section, we’ll uncover the secrets to keeping your pumpkins looking fresh and vibrant throughout the spooky celebrations. From preventing decay and rot to exploring various lighting options and ensuring safe placement, we’ll provide practical tips and tricks for maximizing the longevity and visual appeal of your perfectly carved pumpkins. Get ready to showcase your creativity and create an enchanting ambiance for all those trick-or-treaters!
Preventing Decay and Rot
Preventing decay and rot is crucial for preserving Halloween pumpkins. Here are some tips:
- Keep your pumpkin dry: Wipe off any moisture and avoid damp areas.
- Avoid direct contact with the ground: Use a straw or hay bed, wooden pallet, or plate/tray for air circulation.
- Store in a cool environment: Keep away from direct sunlight and heat sources.
- Apply a protective sealant: Use commercial pumpkin sprays to prevent moisture and mold growth. Follow instructions on the spray bottle.
- Monitor and remove signs of decay: Regularly inspect for soft spots, mold growth, or rot. Cut away affected areas to prevent spreading.
Carving pumpkins for Halloween originated from an Irish folklore about Stingy Jack. According to the story, Jack tricked the Devil to keep his soul. When Jack died, he couldn’t enter Heaven or Hell. The Devil gave Jack a burning coal, which he placed in a carved turnip, becoming “Jack of the Lantern.” The Irish carved scary faces into turnips and potatoes to ward off Jack and evil spirits. When immigrants brought the tradition to America, they used pumpkins, native to North America, for carving.
Lighting Options
When it comes to lighting options for Halloween pumpkins, there are several choices you can consider to create a spooky ambiance. Whether you prefer a traditional and classic approach or want to utilize modern technology, there is a lighting option that is perfect for you.
Candles have always been a popular choice for lighting Halloween pumpkins. They provide a flickering and eerie glow that adds to the spooky atmosphere. You can use tea lights or small candles placed inside the pumpkin to achieve this effect. It is important to be cautious of fire hazards and never leave them unattended.
If you are concerned about safety or simply want a more energy-efficient option, LED lights are a great alternative to candles. These lights come in various colors and can be easily inserted into the pumpkin. They provide a bright and vibrant glow that is sure to catch everyone’s attention. Some LED lights even have flickering settings to mimic the ambiance of candlelight.
Glow sticks are another fun and vibrant lighting option. Simply activate a glow stick and place it inside the pumpkin for a colorful and glowing effect. They come in different colors and can last for several hours, making them perfect for extended Halloween festivities.
For a whimsical and enchanting look, consider using battery-powered string lights. These can be wrapped around the pumpkin or placed inside to create a magical glow. Choose Halloween-themed colors like orange, purple, or green to add to the festive atmosphere.
If you really want to take your pumpkin to the next level, projection lights are a fantastic option. These lights project spooky images or patterns onto your pumpkin, creating a truly eerie display. Choose from various designs like ghosts, bats, or witches to add an extra element of fright to your Halloween celebrations.
With these lighting options at your disposal, you have the tools to transform your Halloween pumpkin into a glowing masterpiece. Whether you want to impress children or impress adults, experimenting with different techniques will help you create a spooky atmosphere that will leave a lasting impression.
Fun fact: Did you know that the tradition of carving pumpkins for Halloween originated from an old Irish folktale about a man named Stingy Jack?
Placement and Safety Considerations
Choose a safe and stable location for your Halloween pumpkin, keeping in mind placement and safety considerations. Ensure that it is away from high foot traffic or areas where it can be easily knocked over. If you are placing your pumpkin outdoors, consider the weather and avoid direct sunlight for prolonged periods. Excessive exposure to sunlight can cause the pumpkin to deteriorate quickly.
In addition, avoid placing your pumpkin near flammable objects or heat sources such as candles, lighters, or electrical outlets. This is essential to ensure the safety of your display. Proper ventilation around the pumpkin is also crucial. It helps prevent heat or moisture buildup, which can lead to mold or rot.
If you choose to use candles or open flames to illuminate your pumpkin, make sure to place it away from flammable materials. It is also important to never leave it unattended, as this can pose a fire hazard.
Consider the height and accessibility of your chosen display location so that others can easily see and admire the pumpkin. If you have young children or pets, it is advisable to place the pumpkin out of their reach to prevent accidents or injuries.
Regularly check the pumpkin’s condition and promptly remove it if it shows any signs of decay, mold, or pests. Dispose of it properly to avoid any health hazards.
Remember, while having fun and being creative with your pumpkin display, always prioritize safety for a fun and enjoyable Halloween season.
Frequently Asked Questions
What type of pumpkin is best for carving and decorating for Halloween?
The classic style pumpkins, such as the ‘Jack O’Lantern’ and ‘Howden’ varieties, are large and orange, making them perfect for carving and using as decorations.
Are there any unique pumpkin varieties available for those looking for something different?
Yes, Jung Seed Company offers unique pumpkin varieties like the ‘Blue Doll Hybrid’ and ‘Warty Goblin Hybrid’ for those who want something out of the ordinary.
What types of pumpkins are recommended for small gardens?
For small gardens, pumpkin varieties like the ‘Wee Be Little Miniature’ are specifically suited for limited space and can still produce beautiful pumpkins.
Can I grow organic pumpkins for Halloween?
Yes, Jung Seed Company offers organic pumpkin seeds for those interested in growing their own organic pumpkins.
Which pumpkin varieties are recommended for cooking or making pumpkin pie?
Pumpkin varieties like the ‘Winter Luxury Pie’ and ‘Cinderella’s Carriage Hybrid’ are recommended for cooking and making delicious pumpkin pies.
Do pumpkins require a long growing season?
Yes, pumpkins require a long growing season of at least 100 days. In colder climates, starting seedlings indoors in April is important, while in warmer climates, seeds can be planted directly in the soil once it reaches 60°F.